How to Clean a Fridge
The Coronavirus pandemic taught people to make sanitising a habit. A manifestation of this is regularly cleaning your home, including the kitchen.
Your kitchen counters, oven, and hob may be pristine and sparkly. Does it look the same for your fridge? Have you inspected every nook and cranny of your fridge lately? The fridge is a prime suspect when it comes to skipping appliances during routeine cleaning. Let this serve as your reminder to give your fridge’s condition some attention. Follow these steps and make it the shiniest and most organised appliance in the kitchen. To ensure that you always have a sparkling clean fridge, it needs to go through a deep clean every 3-6 months. This keeps the bacteria from developing and also removes the risk of cross-contamination with food.
Tips and tricks found online are a great help when it comes to cleaning challenges. You might find the easiest way to remove the stubborn stain or the funky smell spoiling your gleaming home. It can also help you discover how to use every day items to assist with your cleaning route - we've got a few of these for you!
Let’s be real, not a lot of people read equipment manuals. However, it is highly recommended that you read your fridge’s manual to know how to clean it properly and to avoid damaging any part of the appliance. If you can’t find the manual, check the manufacturer’s site. We recommend this for anything that you are cleaning as some items may have specific requirements that require specialised cleaning products and methods.
Now let's get started on the hard work - getting your fridge looking it's absolute best.
Handy tip: when cleaning your fridge keep the door closed whenever possible, only keeping it open whilst you are actually cleaning inside. This will help your fridge stay as cool as possible, meaning once you plug it back again it'll reach a safe temperature for food storage more quickly, allowing you to refill the appliance quicker.
1 - Empty the Fridge
At room temperature, bacteria multiply quickly and spoil your dairy products, meat, and other food that needs to be stored in the fridge. Place them in a cooler or any cool bag with pre-chilled ice packs. The Food Standards Agency specifiy that "in practice, it is recommended to set your fridge at 5˚C to make sure that food is kept cold enough. Check regularly that your fridge and any display units are cold enough." To ensure your fridge is keeping your food cool enough, we'd recommend a fridge thermometer for peace of mind.
Whilst emptying your fridge, this is also the appropriate time to check for spoiled food items. Anything beyond its expiry date must go. If the spoiled items were in a reusable container, remember to wash the container with hot, soapy water before reusing it.
Before moving onto the next step, unplug the fridge. Never clean electronic appliances when they are powered on.
2 - Wash the Shelves, Drawers, and Racks
Now that you’ve got an empty fridge, take out all the removable shelves, salad crisper drawers, and wire racks. Wash them in hot, soapy water, rinse and then leave to dry.
Cover unmanageable food stains with a warm, wet cloth for a few minutes then scrub them with a soft scrubber. Residues also tend to collect between the surface of the shelves and the shelf surround, or stick at the joins of wire racks. Use a toothpick to clean those spots.
Finally, spray each item with a sanitiser, leave for the required contact time to reduce bacteria to a safe level, and then wipe dry with kitchen roll.
Do not place the items back into the fridge just yet. Set them aside and then proceed to the next step.
Please note that if the shelves or drawers are made of glass, it is wise to let them reach room temperature before running them under hot water. Failure to do this introduces the possibility of the glass cracking.
3 - Clean the Interior
With a completely bare fridge, using soapy water with a microfibre cloth clean down and remove any visible soiling on the interior surfaces. Pay close attention to the grooves on the sides where the shelves and racks rest and the drip hole at the back. Cotton buds, a toothbrush, or toothpicks can easily get food residue out of the grooves and unclog the hole.
Next, take your chosen sanitiser and mist the fridge interior. As per the previous step, allow the sanitiser the required contact time needed to reduce pathogens to a safe level, then wipe with kitchen roll.
For the soapy water, and also if you are using a sanitiser that comes in concentrated form that is diluted prior to use, do not use hot water (unless this is required as per the instructions). Hot water will increase the internal temperature of the fridge, meaning you'll have to wait longer for it to cool prior to refilling.
4 - Make that Exterior Sparkle
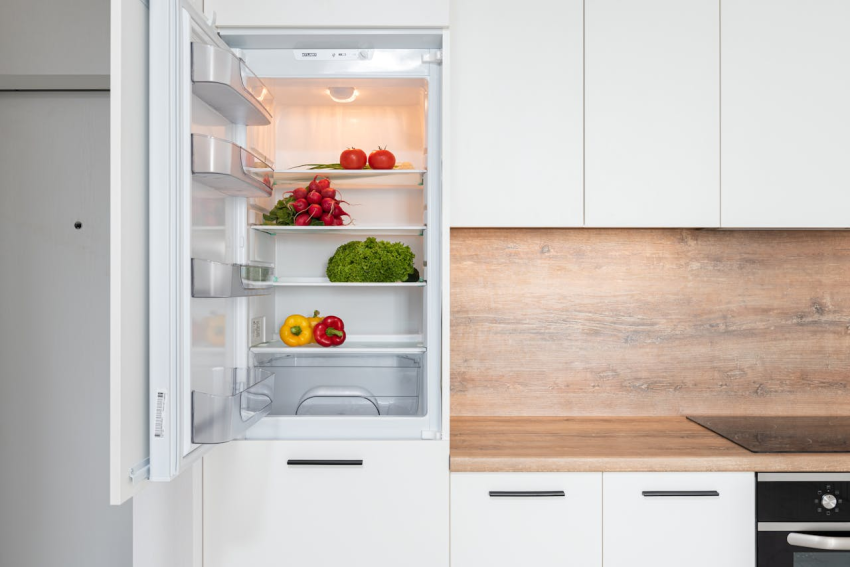
Your fridge exterior is just as important as the interior, being the first part that you see and touch. Speaking of touch, frequent contact with the handle and door is an easy way for germs to be spread in the kitchen.
Similar to the inside of your fridge, first clean away visible soiling with warm soapy water, then mist the exterior with your sanitiser. Leave for the required contact time and dry with kitchen roll.
We’re not done yet! Can you guess one more thing from your fridge’s exterior that is often overlooked? The condenser coils!
As the condenser coils are located at the back of the fridge, cleaning these rarely occurs as they are "out of sight, out of mind". However, the location of these coils means they're easy to clean and can simply be vacuumed to remove dust and any pet hair that makes it's way around the back of your fridge. Good thing is, condenser coils can be cleaned at least once a year or more to avoid any clogging that may cause damage. If these are not cleaned your fridge will also be less efficient, requiring more energy to keep the items inside cool!
5 - Refill and Relax
Place your shelves, drawers and racks back inside the fridge, waiting for the fridge to cool down to 5˚C before putting back any food items. For your fridge to work efficiently it should not be overfilled, so make sure that you've not crammed food into every little space.
To make your fridge easier to clean in the future, place kitchen towels or old newspaper at the bottom of the drawers so that you can easily lift out any stray pieces of food that require disposal.
Finally, prevent any funky smells by filling a ramekin with bicarbonate of soda and placing inside your fridge. The bicarbonate of soda will absorb foul odours and should last for up to three months before it needs replacing.
Follow these steps in your next fridge cleaning schedule and enjoy the squeaky clean, glistening result of your hard work!
Stay Connected
Stay connected and be the first to know about our latest products, special offers, and exciting news:The Cleaning Blog
Want to learn more about cleaning? From the latest cleaning and hygiene news to handy how-to guides, why not check out our most popular blog categories.Stay Connected
Stay connected and be the first to know about our latest products, special offers, and exciting news: